Essential Kegerator Coupler Parts for Your Home Brew Setup
Ever wondered why your draft beer sometimes pours foamy or flat? The secret lies in the small but mighty components connecting your keg to the tap. Without the right setup, even the best brew can lose its crisp taste and perfect carbonation.
We at Installation Parts Supply believe that every great pour is built on top-notch hardware. No matter if you brew at home or simply enjoy draft beer, knowing these Sankey tap parts makes all the difference.
Whether it’s a washer or a length of gas tubing, each piece helps preserve carbonation and flavor. Over 90% of dispensing issues trace back to worn or mismatched components. Understanding these parts is the key to a trouble-free draft system.
Summary Highlights
- Proper coupler selection ensures optimal beer flow and flavor.
- Count on Installation Parts Supply for trusted draft setup parts.
- Keeping parts clean and checked avoids typical pouring glitches.
- The style of coupler depends on the beer you’re pouring.
- Coupler faults are behind most draft system breakdowns.
Kegerator Coupler: An Overview
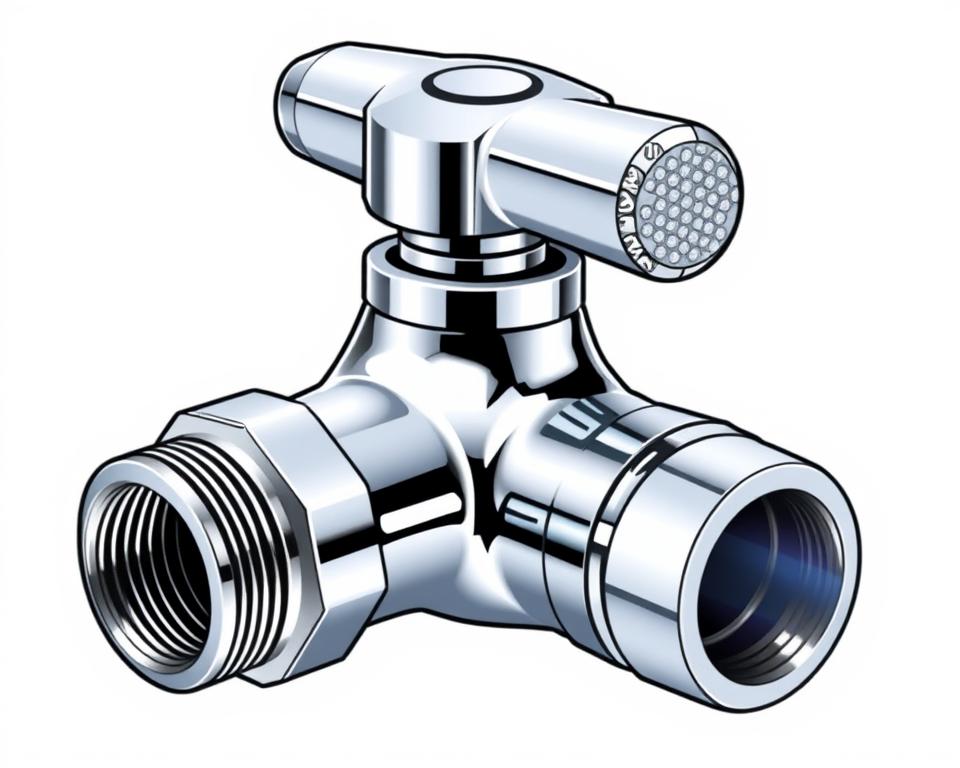
The perfect draft beer starts with the right connection between your keg and tap. A keg coupler bridges your CO₂ cylinder or nitrogen tank to the beer line, using compressed gas to push liquid smoothly to your taps. Consider it the powerhouse of your draft beer system—remove it, and the flow stops.
That tiny gadget serves a dual purpose: gas delivery to pressurize and valve control to pour your beer. Its interior consists of a probe, a check valve, and distinct ports for beer and gas. Each part ensures your brew stays carbonated and pours without foam.
| Component | Role | Common Issues |
|---|---|---|
| Coupler Probe | Pierces the keg’s cap | Leaks if not aligned properly |
| Return Valve | Stops beer from flowing backward | Worn valves lead to flat beer |
| Gas and Beer Ports | Connects to lines | Loose fittings create foam |
Seventy-five percent of newcomers misattach the coupler, causing issues. That leads to foam floods, leaks, and ruined beer. Check Installation Parts Supply’s charts and videos for correct setup.
Universal designs mean most couplers work similarly, but always match yours to your keg type. A mismatched setup won’t just ruin your pour; it could damage your equipment.
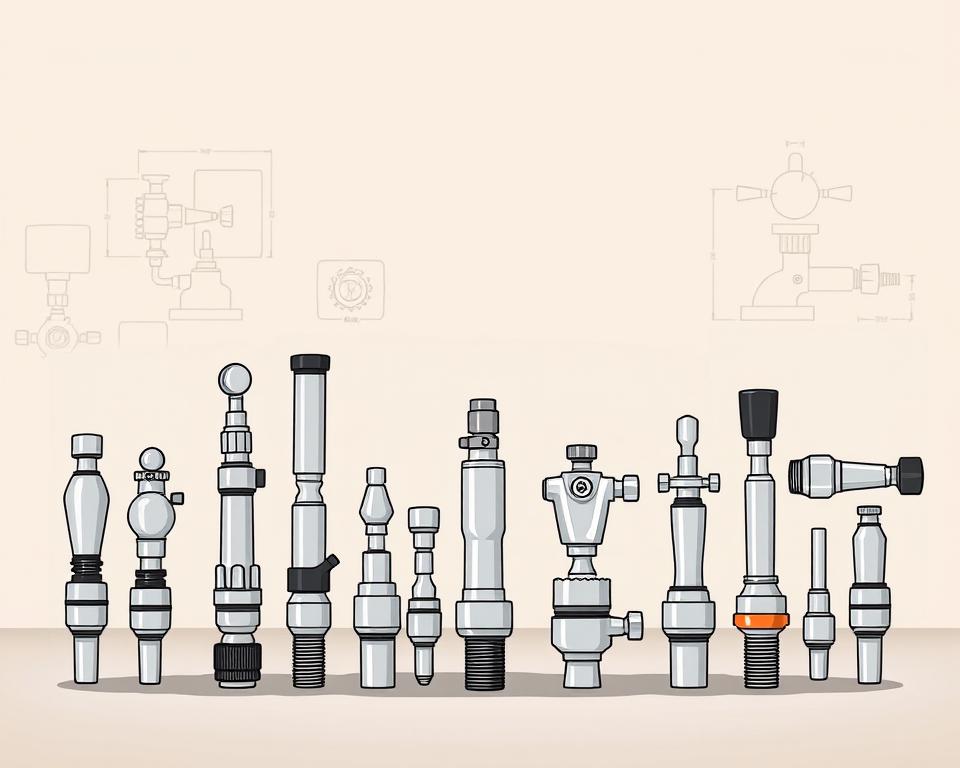
Which Keg Coupler Is Right for You?
Kegs come in many styles and each needs its matching coupler. The correct coupler preserves carbonation and taste. Follow this guide to choose the right one.
D System (Sankey) Coupler
This is the go-to for 85% of North American craft beers. That valve locks onto domestic kegs with ease. Pro tip: Look for the Sankey name stamped on the side.
U-Type Coupler
Stamped with a harp mark, it’s essential for nitro-charged stouts. A 75% nitrogen mix gives you that signature creamy foam. A U coupler will not seat on a D-type keg—don’t attempt it.
European S-Type Coupler
European kegs like Heineken fit this left-twist coupler. The left-hand twist prevents mix-ups with D Systems. It’s roughly an inch taller than the U.S. version.
A, G, and M System Couplers
UK/German imports call for these unique couplers:
- A-Type Coupler: Used on Warsteiner & Paulaner barrels. The “slider” mechanism is foolproof.
- G-Type Coupler: Tri-flat stem locks onto Bass & Boddingtons. A pub staple across the UK.
- M-Type Coupler: Secures Schneider Weisse barrels. Its click-lock ensures it’s seated.
Installation Parts Supply’s chart uses green=D, black=U, blue=S. A brewery in the Midwest reclaimed $3,000 a year after matching couplers properly. Never rely on “universal”—real compatibility wins.
Coupler Parts Breakdown
Smooth flows come from well-crafted coupler pieces. Each component helps maintain carbonation and flow. Below are the parts you need to know.
Probe and Check Valve
A stainless probe punctures the seal to regulate flow. Quality probes endure three times as many uses. Below it, the check valve blocks backflow—Installation Parts Supply’s most-replaced part.
Coupler Hex Nut & Washers
Everything tightens up around the hex nut. Brass is economical; stainless fights rust. Nitrile outperforms EPDM under 40°F.
| Component | Construction | Advantage |
|---|---|---|
| Probe | SS | Resists wear |
| Return Valve | Food-grade plastic | Prevents flat beer |
| Coupler Nut | Brass or Stainless | Cost-effective & durable |
Gas and Liquid Ports
Your gas port should see 20–30 PSI pressure. Mismatched pressure causes foam. Liquid ports work best with 3/16″ ID tubing—1/4″ lines increase turbulence. Keep a rebuild kit on hand for quick fixes.
Pro Tip: Replace O-rings biannually or after ~50 kegs. A cheap washer swap saves you from a costly rebuild.
Setting Up Your Coupler
Getting your draft system right means perfect pours every time. Proper installation prevents foam, leaks, and flat beer. Follow these steps to connect everything smoothly.
Connecting the Coupler to the Keg
Lift the handle and align the coupler’s lugs with the keg’s slots. Turn clockwise until snug—over-tightening damages the seal. Slim models save 4–5″ of headroom.
Use our torque wrench to set nuts at 8-10 ft-lbs. Eighty percent of leaks stem from a crooked probe. New washers keep your system sealed.
Hooking Up Your Gas & Beer Lines
Use 5/16″ MFL fittings to attach the gas line. A bit of sealant stops gas leaks. For beer lines, 10–12 feet of 3/16″ tubing balances pressure drop.
| Step | Tool | Note |
|---|---|---|
| CO₂ Line | Pipe dope | Test at 30 PSI for bubbles |
| Draft Line | Tubing cutter | Keep ends square for seals |
| Pressure Test | Leak detector | Monitor for a full day |
Modern rigs offer app-based pressure feedback. Our quick-connects helped a Denver bar slash foam by forty percent. Always shut off CO₂ if major leaks occur.
Troubleshooting Common Coupler Issues
A foam burst spoils your draft faster than anything. Most pouring problems stem from simple fixes once you know where to look. Here are the usual culprits and how to remedy them.
Leaks and Foamy Beer
Sixty-eight percent of draft issues are foam-related. Start by checking your temperature—ideally 38°F for most ales. Too warm, and CO₂ escapes too fast.
Then, look over your draft tubing fittings. Soap test any fitting—bubbles point to leaks. Use a wrench to snug loose parts, avoiding over-torque.
- Check ball can lead to uneven pours and audible leaks
- Not sure on PSI? Use this guide:
| Style | CO₂ Pressure | Nitrogen Mix |
|---|---|---|
| Lagers | 10–12 | N/A |
| Stouts | 25–30 | 75% nitrogen |
Loose Coupler Issues
Loose couplers almost always trace back to worn seals. Our data shows O-ring swaps resolve 40% of loose fits. Bent coupler heads sometimes require new units.
Shims can stabilize wobbly connections. These inexpensive plastic wedges stabilize wobbling connections. Low-profile models solve clearance problems in compact coolers.
Pro Tip: Their emergency washer kit contains five critical seals. A Chicago bar cut waste by 18% after training staff on these quick fixes.
If your CO₂ tank frosts up, you’re running too hard. Defrost before tweaking the relief valve. Annual gauge calibration keeps readings true.
Cleaning and Maintaining Your Keg Coupler
Hygienic systems yield the best flavor. Leftover yeast and oils harm both taste and pouring. Regular care preserves performance.
Disassembly and Soaking
First, disassemble the coupler. Remove the handle, probe, and check valve. Soak everything in a PBW bath (1 oz per gallon) for about 15–20 minutes. It dissolves yeast and hop deposits.
Use our brush kit to clean narrow passages. Focus on the ball valve—gunk loves to hide there. Rinse thoroughly to avoid soapy aftertastes.
Best Coupler Cleaners
PBW (Powdered Brewery Wash) is a top pick for its pH balance. Acid cleaners work faster but can damage rubber over time. For commercial setups, ultrasonic systems blast away debris with sound waves.
- Drying: Use compressed air or microfiber cloths.
- Disinfecting: Follow FDA CFR 117 guidelines—30 seconds of contact time kills bacteria.
- Record-Keeping: Track cleanings with a template.
Ultraviolet systems help sterilize parts. Rinse waste per regulations—PBW can damage plumbing. A quick clean routine preserves flavor and longevity.
Conclusion
Achieve brewery-quality pours with expert hardware know-how. Matching the right hardware, regular cleaning, and proper setup make all the difference. Installation Parts Supply backs you with expert help and discount rebuild kits.
Regular upkeep can stretch your hardware lifespan by seven years. Download their free compatibility checklist or join a brewmaster webinar for pro tips. An annual check-up guarantees smooth service—just listen to customers with five years of trouble-free use.
Time to level up: head to Installation Parts Supply and improve your home bar.